Showing posts with label salon perfect. Show all posts

June 5, 2015

National Donut Day Nail Art

Happy Donut Day everyone! Since I no longer work at Dunkin Donuts (I've moved onto bigger and much better things), I get to actually enjoy today and paint my nails for it! We weren't allowed to have painted nails even if we wore gloves over them and it was torture. I had just started getting into nail art and I couldn't even practice!
Alright, back to today's nails...


I started with a base of Too Yacht To Handle on all but my ring finger. Using a striping brush from my Glam Gadgets set, I painted semi-circles using Coach Ella and filled them in. I took a medium sized dotting tool and made the "edge of the icing" using Nirvana, Pinking Out The Window, and Sugar Cube. I didn't get too close to the edge of the tan to leave some of the "donut" showing. Using the striping brush again, I made sprinkles on my middle finger with Sugar Cube, Treble Maker, and Home Sweet House Music. I didn't have a dotting tool as big as I wanted, so I used the end of a paint brush dipped in Too Yacht To Handle to make the hole in each donut. I waited for these three nails to dry and applied Salon Perfect Top Coat.

For my accent nail, I started with a base of Coach Ella. Using a larger dotting tool, striping brush, and Pinking Out The Window, I created my drips by making three lines from my cuticle toward the middle of my nail and adding dots to the ends of them. I connected the sides of the dots to the line and then connected the lines together with curved lines and filled in. Like with the sprinkled donut nail, I used the striping brush and Sugar Cube, Treble Maker, and Home Sweet House Music for the sprinkles. Finally, I finished with Salon Perfect Top Coat.

Polishes used:
China Glaze - Too Yacht To Handle
China Glaze - Pinking Out The Window
China Glaze - Treble Maker
China Glaze - Home Sweet House Music
Salon Perfect - Sugar Cube
Fresh Paint - Coach Ella
Sinful Colors - Nirvana
Salon Perfect Top Coat

May 20, 2015

Memorial Day Nail Art

Today I have some patriotic nail art that can be used for Memorial Day, Fourth of July, or any day really! I had purchased the stamping plate I used for the stars over a year ago, but was still 100% failing at stamping so I never got to put it to good use. This is actually the exact mani I had in mind at that time and I'm kinda glad I never attempted it until now. I finally have this stamping thing down and a year ago I would have insisted on hand painting the stripes (which would have ended up crooked or uneven).
*Note: I realize my stars are upside down here, but when I was looking at my nails while stamping, they were right side up. It all depends on which way ya look at them. ;) 

I started with a base of Essie "Hide & Go Chic" on my index and middle nails and Salon perfect "Sugar Cube" on my ring and pinky and applied Dream Polish "Gem Glam Top Coat". I gave the top coat about 5-10 minutes to dry completely before adding the finishing touches. I used "Whiteout" from Rica's Polish to stamp the stars and Straight Vinyls from Nail Vinyls with China Glaze "Bing Cherry" for the stripes. I let the details dry completely for about 10 minutes to prevent any smudging before finishing with Salon Perfect Top Coat.

Polishes:
Essie - Hide & Go Chic
Salon Perfect - Sugar Cube
Rica - White Out
China Glaze - Bing Cherry
Dream Polish - Gem Glam Top Coat (Jelly Bean Scented)
Salon Perfect - Top Coat

Tools:
Stamping plate
Stamper from this set
But the larger scraper from this set
Straight nail vinyls


May 18, 2015

Harry Potter Nail Vinyls

I had the opportunity to take part in a Harry Potter mani collab a couple weeks ago. Unfortunately, I was crazy busy that week and didn't get to do what I had originally planned so I went super simple, but I'm still happy with the outcome.

I started with my base coat, one coat of Salon Perfect "Gold Leaf", then applied my Salon Perfect Top Coat. The top coat here is not necessary, but once completely dry, it prevents the other layers of polish from lifting in case the vinyls need repositioning. Using tweezers, I applied Lou It Yourself's Harry Potter vinyls onto my nails. On my ring finger, I positioned the lightning bolt, but didn't press it into place as much as the others and left a tiny bit of the vinyl lifted. I painted Salon Perfect "Oil Slick" over it, then peeled off the vinyl leaving the gold lightning bolt. To finish it all off, I topped it with one coat of Salon Perfect Top Coat on my accent nail, and two coats over the others to smooth out the vinyls.

Polishes:
Salon Perfect - Gold Leaf
Salon Perfect - Oil Slick
Salon Perfect - Top Coat

To see the other manis from this collab, check out #HarryPotterAndThePaintedNails on Instagram.

Star Wars Nail Art

I got so behind on posts! This was my May The Fourth Star Wars mani, a huge improvement from the last one I did two years ago. If you're interested in seeing the awfulness, I posted a comparison on Instagram.
All art was painted using acrylic craft paint and my Winstonia Glam Gadgets brush set.

Polishes:
Salon Perfect - Sugar Cube
Salon Perfect - Oil Slick
Zoya - Imogen
Salon Perfect - Top Coat

April 2, 2015

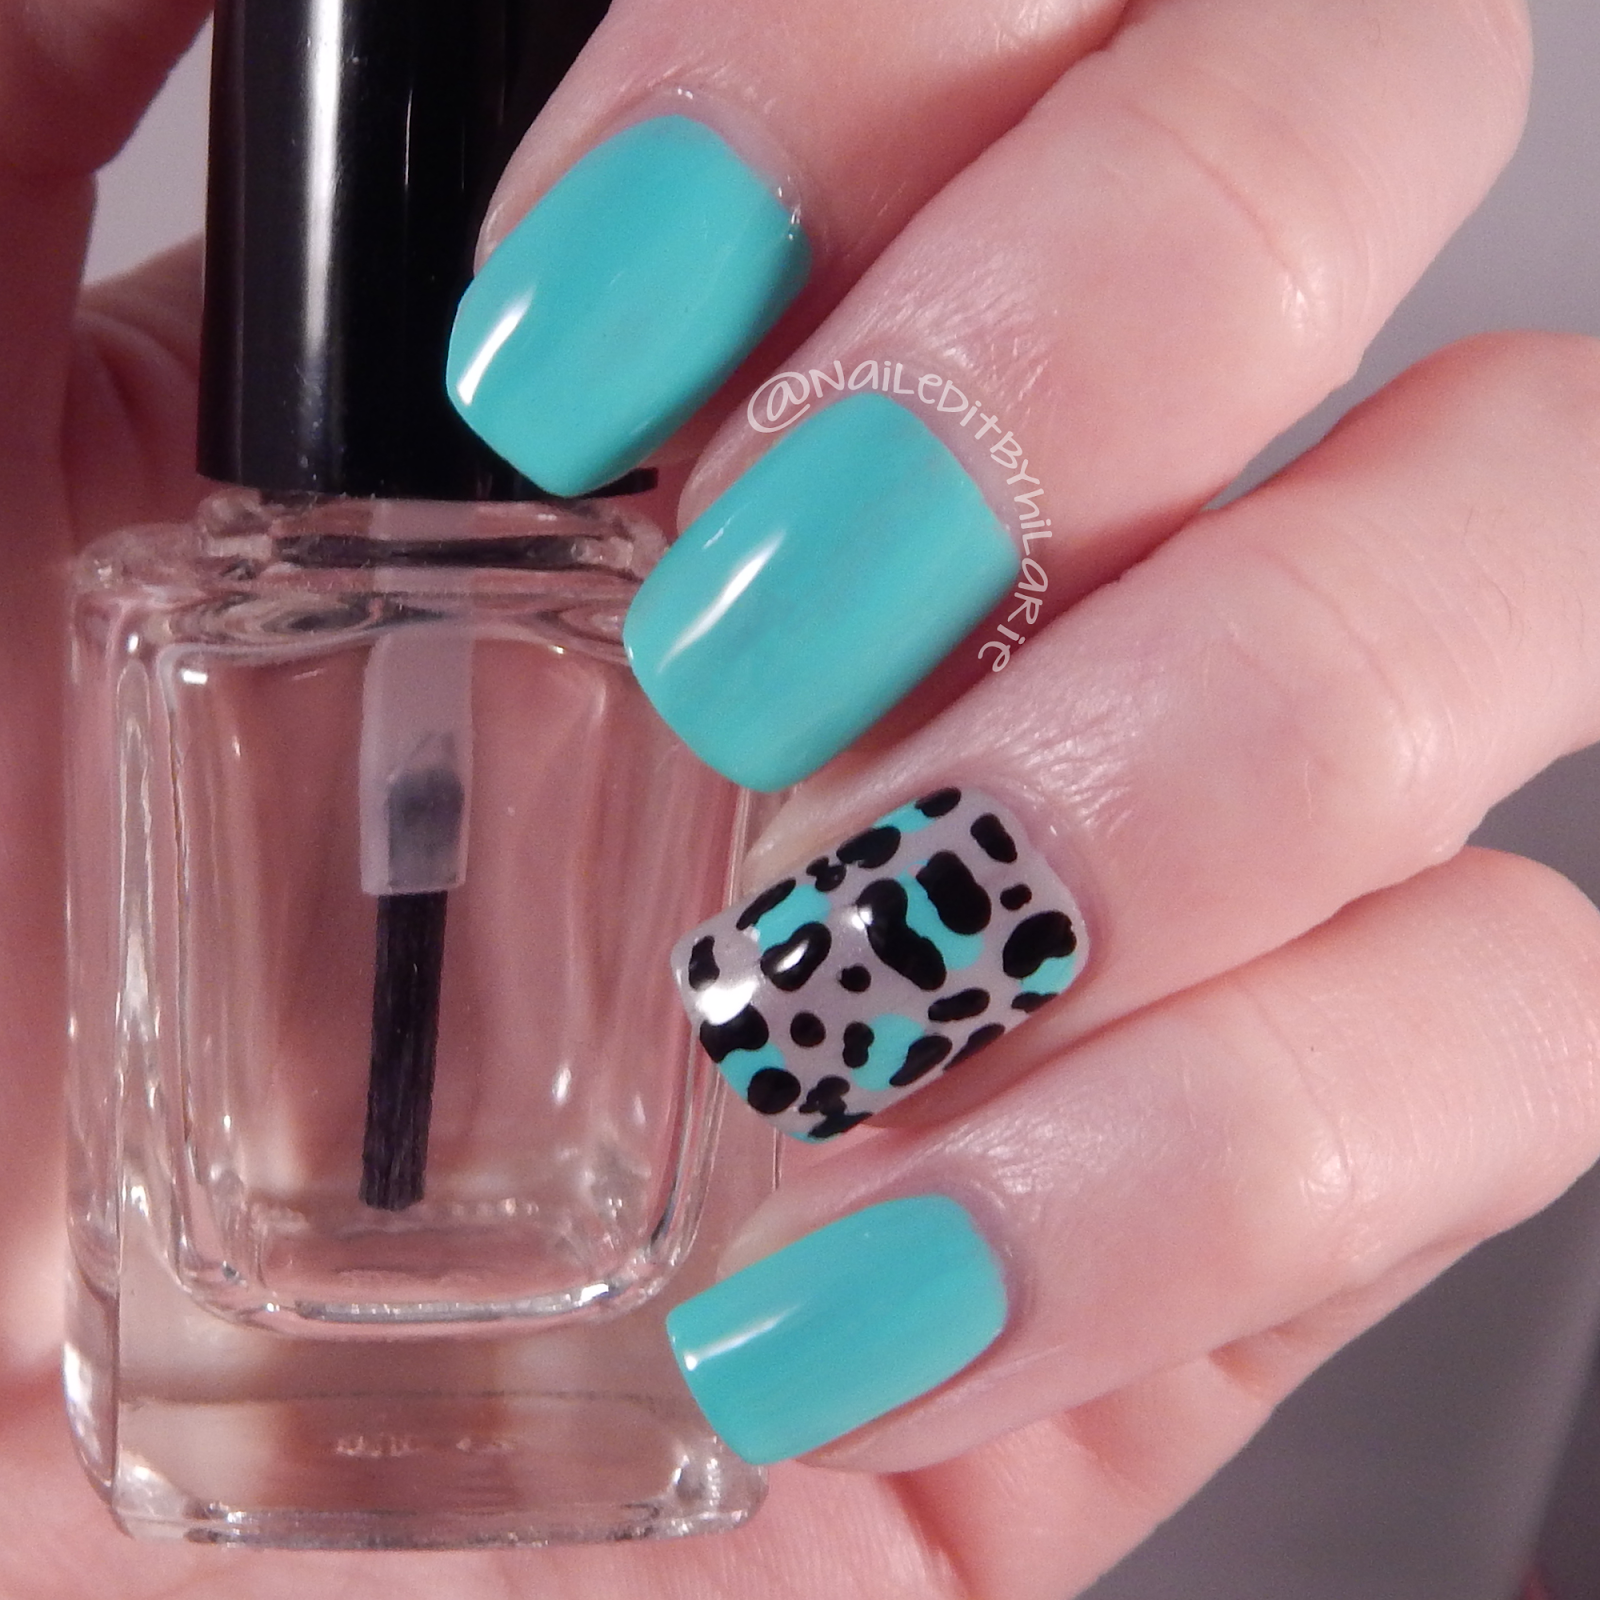
Easy Leopard Print Accent Nail

Four years into nail art and I had never done leopard print. It was one of the first "easy" techniques I pinned on Pinterest and I can't believe I never tried it sooner. It's not really my thing, but it's super quick and simple for an accent nail. My Cindy hand looks almost identical to this one which never happens, even with vinyls.

March 31, 2015

March Nail Art Challenge (Part Seven)


I completed the whole challenge! I've only ever finished one other challenge before and there were nowhere near this many prompts. I'm very proud of myself for completing this and just wanted to thank @littlemermaidnailedit/@fairytalefinishpolish for the awesome challenge!